The Winch
Ahhhhh, it's great to be on deck! to celebrate the occasion, I cemented the companionway and the locker on the deck at the bow. the winch was the next thing on my list. the way that it is shown in the directions, left me with the impression that the slanted portion was toward the front. I had put it together, basing it in this way, but looking at it......it needed more. the two "horns" located at the top "divider rail" would not fit the way they were supposed to....they were kept "out of alignment" by the top reels. I cemented them on the opposite side, facing the other "horn type parts" that protruded from the base.
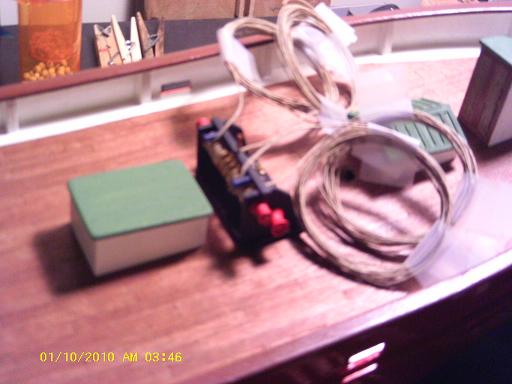
These two early pictures of the assembly will give you a good idea as to how incorrect it was. I started by gutting it out. the holes in the top rail needed to be moved in order to put those "horn" parts in their proper place. the frame was already painted, but I decided to paint other parts as well.
then I puttied the holes at the top rail, later re-drilling new holes so that I could locate the "horn" parts in their proper location.
When I put the frame on the deck, it wobbled from side to side, due to it's curvature. two strips of material corrected this problem. the two "horns were painted a flat blue while this was going on. the next step was to load the reels with thread. they were wound evenly towards one end and then wound back to the center with a second layer. the windings were secured and diluted white was painted on, and kept this way until the glue set.
After the top reels were installed, the bottom reels followed. I liked the idea of the slanted side being the front, so I based it in this way. the top lines will pass over the divider rail, and the bottom lines will pass from the front......both overhand {from the top, not from under}. when all part were assembled, they were touched up, correcting any defects. then, the entire assembly was cemented onto the deck, in it's proper location.
The only parts that weren't added at this time, was the two parts that went in the front. the location holes went through to the deck, and I wanted the assembly to be securely in place before I added these parts.